Set up webhooks
Webhooks allow you to receive real-time updates about specific events in your Sender account by sending automated messages (payloads) to a URL you provide.
This feature is available with the Standard and Professional plans and is a powerful way to sync data between Sender and your external systems.
How to set up your webhook
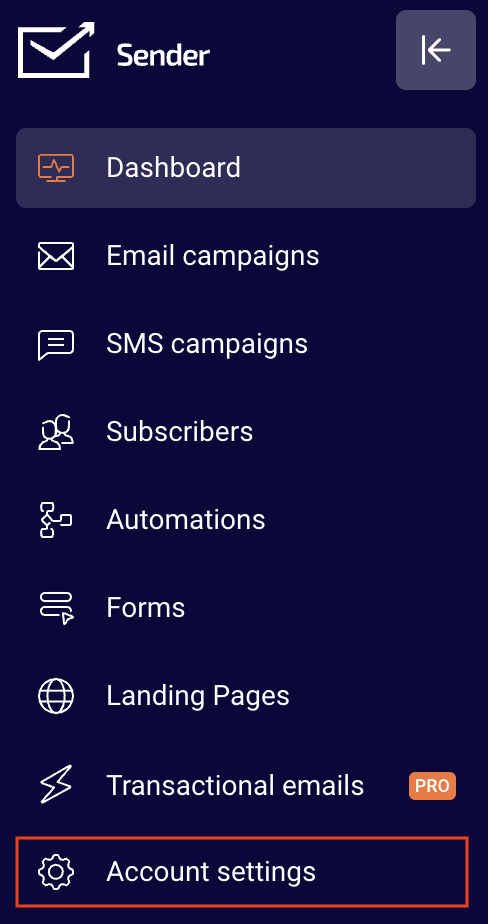
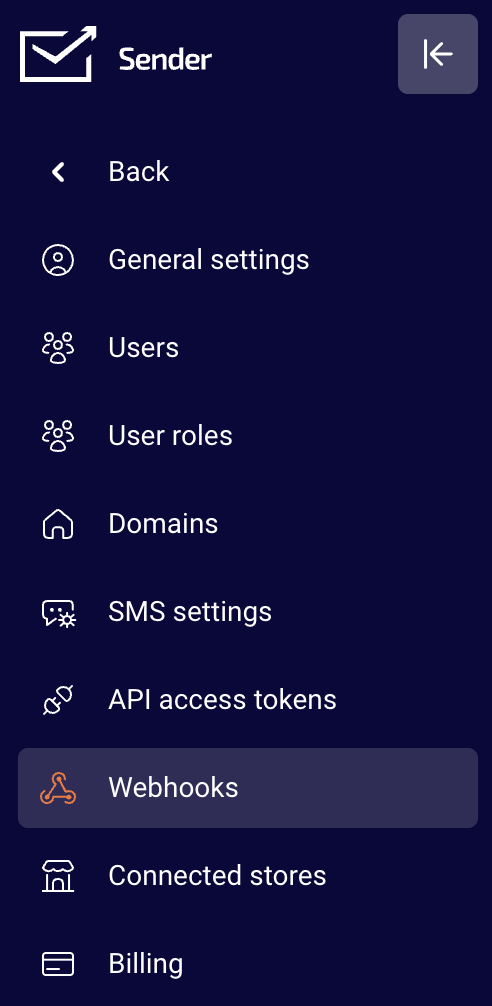
Go to Account settings and click Webhooks from the list.
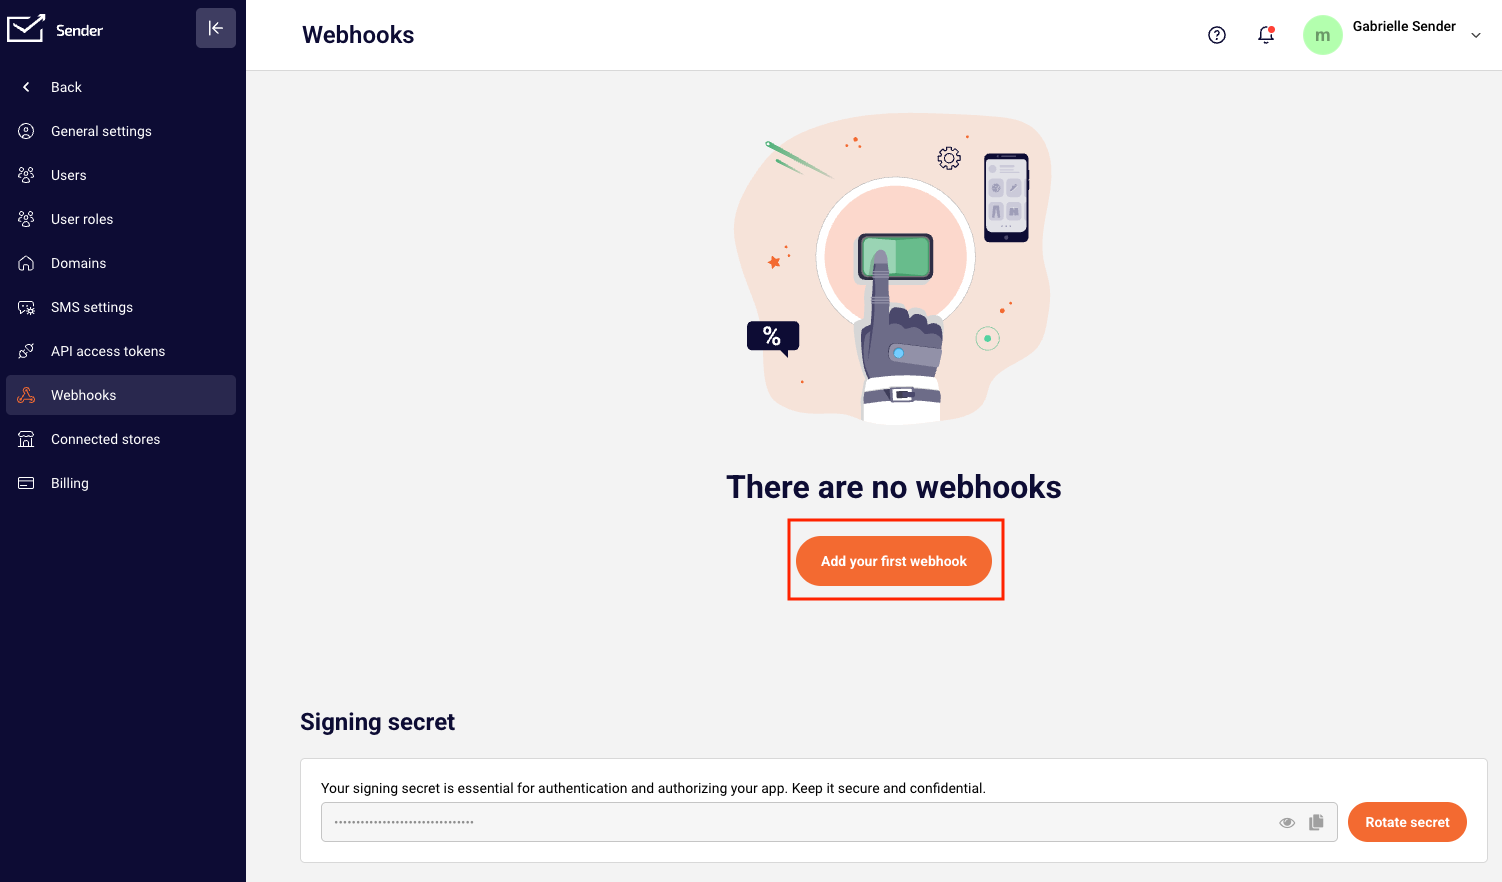
Click “Add your first webhook”.
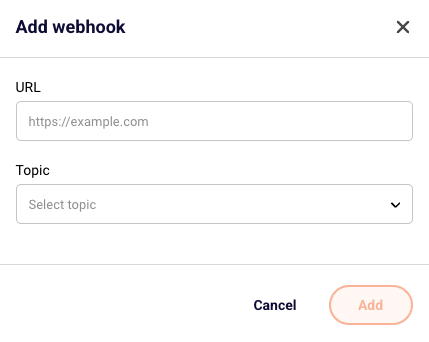
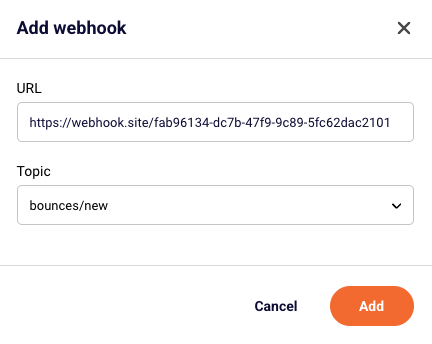
You will then be asked to provide a Webhook URL and select a topic.
The supported Webhooks include:
-
New subscriber added
-
New subscriber added to a specific group
-
Subscriber unsubscribed from a particular group
-
Subscriber data updated
-
Any subscriber unsubscribes
-
New campaign created
-
New group created
-
New bounces after sending a campaign
For this example, we chose new bounces after sending a campaign.

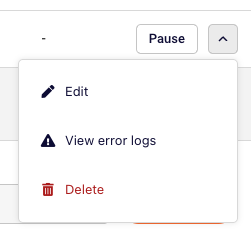
You can pause or reactivate your webhook at any time by clicking the Pause/Active button.
If you need to troubleshoot, edit or delete the webhook, click the arrow button next to your webhook.
Once the set webhook is triggered, the data appears like this:

In the webhook section, you’ll also find your Signing Secret. This is used for authenticating and authorizing your app.

- You can use the copy button to quickly copy it
- The eye icon is to view it.
- Click “Rotate secret” to generate a new one if needed.
Common Use Cases
-
Automatically add new subscribers to your CRM
-
Trigger internal alerts or workflows when someone unsubscribes
-
Keep your customer database in sync with subscriber updates
-
Log bounce events to monitor deliverability
-
Update user tags or segments in external systems when subscribers join a specific group
That’s it!
If you got stuck on a specific task or can’t find a way to execute a particular job, contact our support team via LiveChat or support@sender.net – we’re here to help 24/7.