Viasocket Integration
viaSocket is an AI-powered workflow automation platform that helps you connect thousands of apps — no coding required. By linking Sender to your favorite tools, you can automate repetitive tasks, keep your subscriber lists in sync, and trigger email campaigns based on real-time events happening across your entire tech stack.
Why connect Sender with viaSocket?
- Automatically add new subscribers to Sender from other apps like Google Sheets, Airtable and others.
- Create and organize subscriber groups automatically based on events in connected apps.
- Trigger new email campaigns in Sender whenever a specific action happens in another tool.
- Keep subscriber data up to date by syncing changes from your CRM, e-commerce platform, or other sources.
- Remove or unsubscribe contacts in Sender automatically when they are removed from another platform.
- Connect Sender with thousands of apps — including Slack, Zendesk, Google Sheets, Razorpay, and many more.
How to integrate Sender with viaSocket?
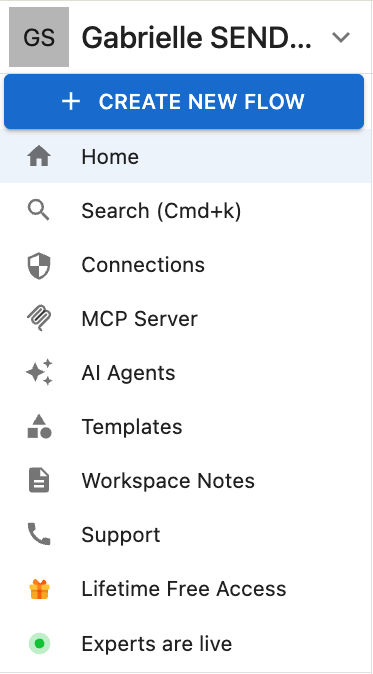
- Go to viasocket.com and log in or create a free account.
- Click “Create new flow” to start building your automation workflow.
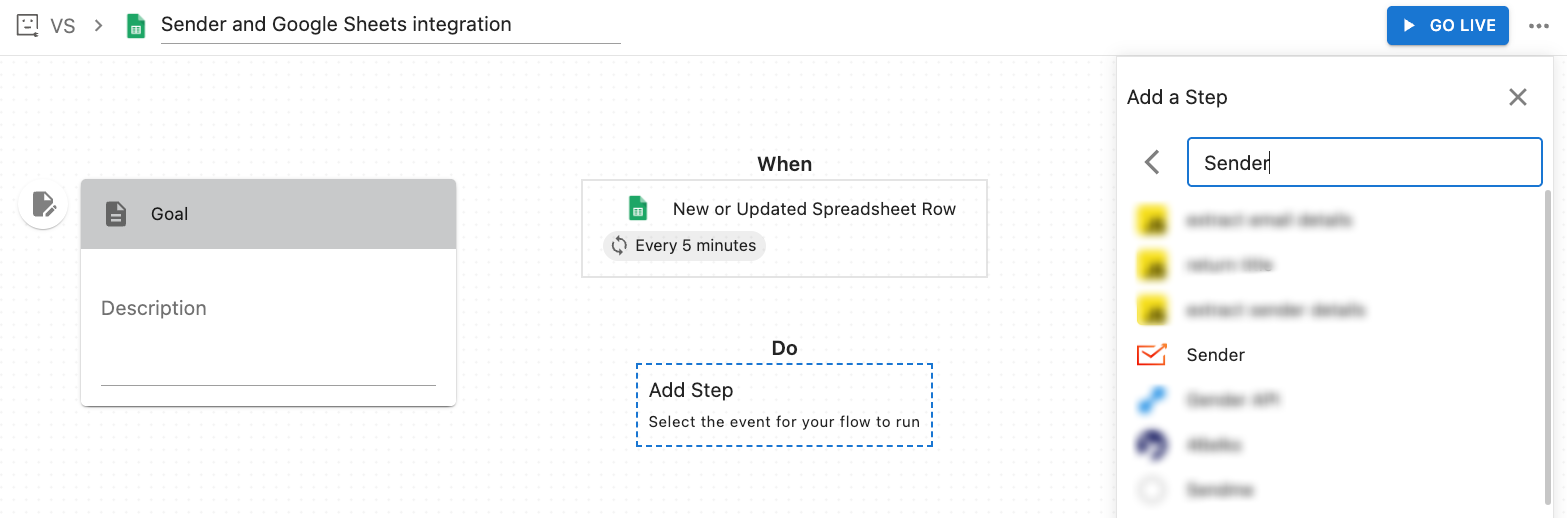
In the flow builder, name your flow and click “Select trigger” to search for the app you want to connect with Sender. For this tutorial, we will connect Sender and Google Sheets.
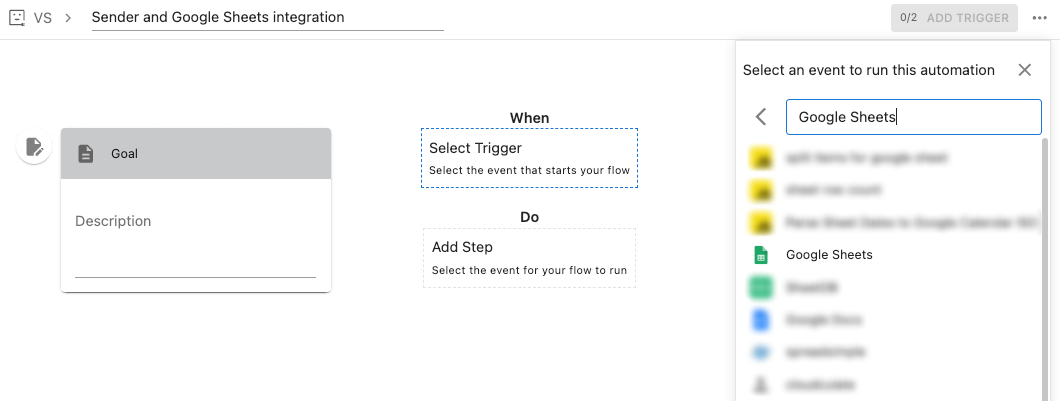
Once the application is selected, you will need to choose the trigger that would initiate the connection.

In this case we will choose “New or Updated Spreadsheet Row”.
You can choose the trigger to run every 5min, 15min, 1h, 12h or 24h.
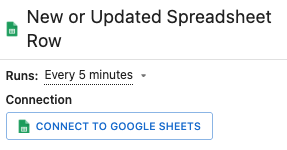
To establish the integration, you will need to connect your Google Sheets account.
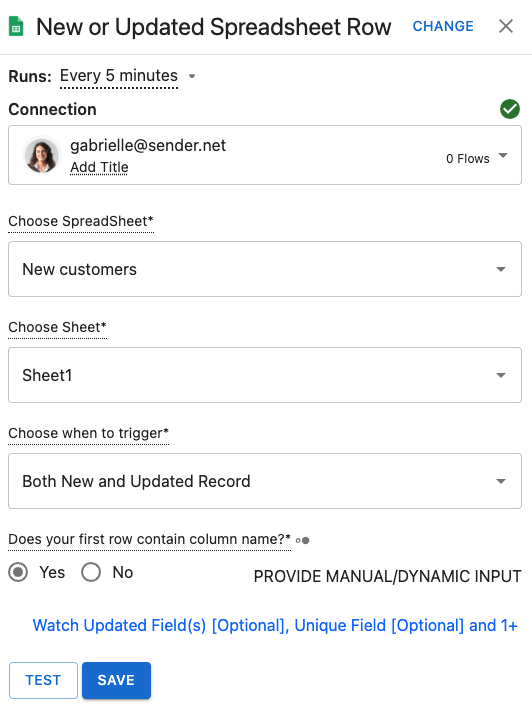
Once you connection is done, you will be asked to choose the Spreadsheet and its Sheet that would be used for the integration.
You can trigger the connection when the record is new or updated, when it is only new, or when it is only updated.
Don’t forget to indicate whether your sheet includes a column name to avoid missing any of the records.
Save the step once it is fully setup.
To setup Sender part of the integration, click “Add step” under “Do” (action part of the conntection) and search for Sender in the app list.
Once the app is chosen, you will be given a list of actions that can be performed when the tigger fires up:
DELETE
- Delete Field
- Delete Group
- Delete Segment
- Delete Subscribers
- Remove Subscribers From Group
GET
Get Segment Details
Get Subscriber’s Data
OTHERS
- Custom API
UPDATE
Rename Field
Rename Group
Update Subscriber
CREATE
Add Subscriber to Group
Create Campaign
Create Field
Create Group
Create Subscriber
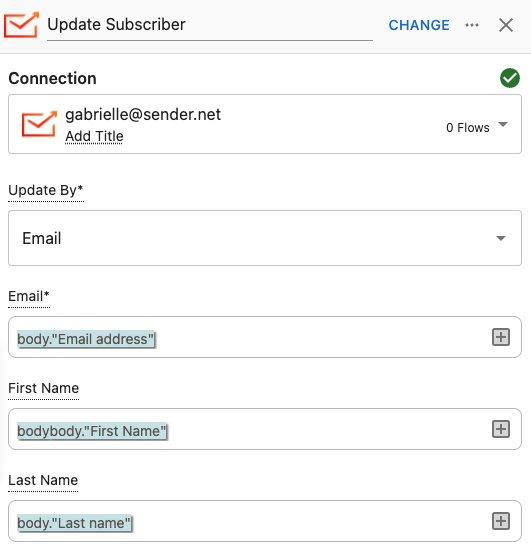
For this tutorial, we will choose “Update_subscriber”.
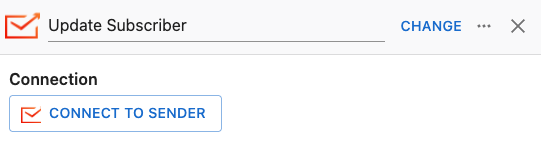
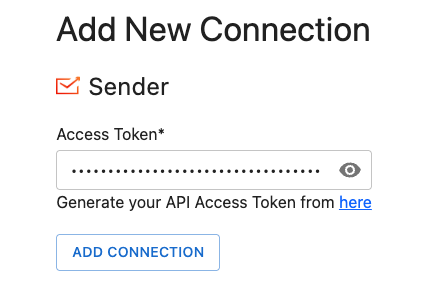
To finalize the integration, Sender accout has to be connected too. This will require you to provide an API token from your Sender account. Click here to learn how to create your account API token.
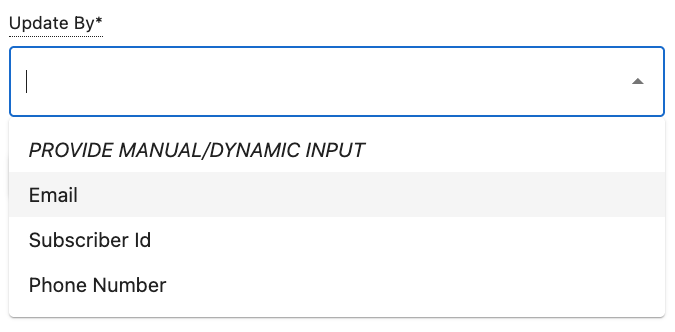
The updated subscriber can be recognized by their email addres or their phone number.
To make sure that the subscriber is properly added to your Sender account, you have to select which collumn has data for which custom field. This is where having column names helps a lot.
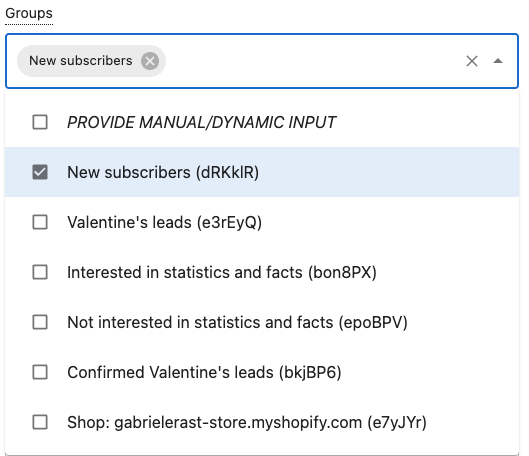
Then, you need to select group(s) to which your subscribers will be added in Sender.
Lastly, you can choose to activate an automation workflow when the connection is triggered and select your subscribers’ status for all the channels upon sync:
- Active
- Unsubscribed
- Bounced
- Spam-reported

You connection is now fully setup, all that is left is to “Go Live”.
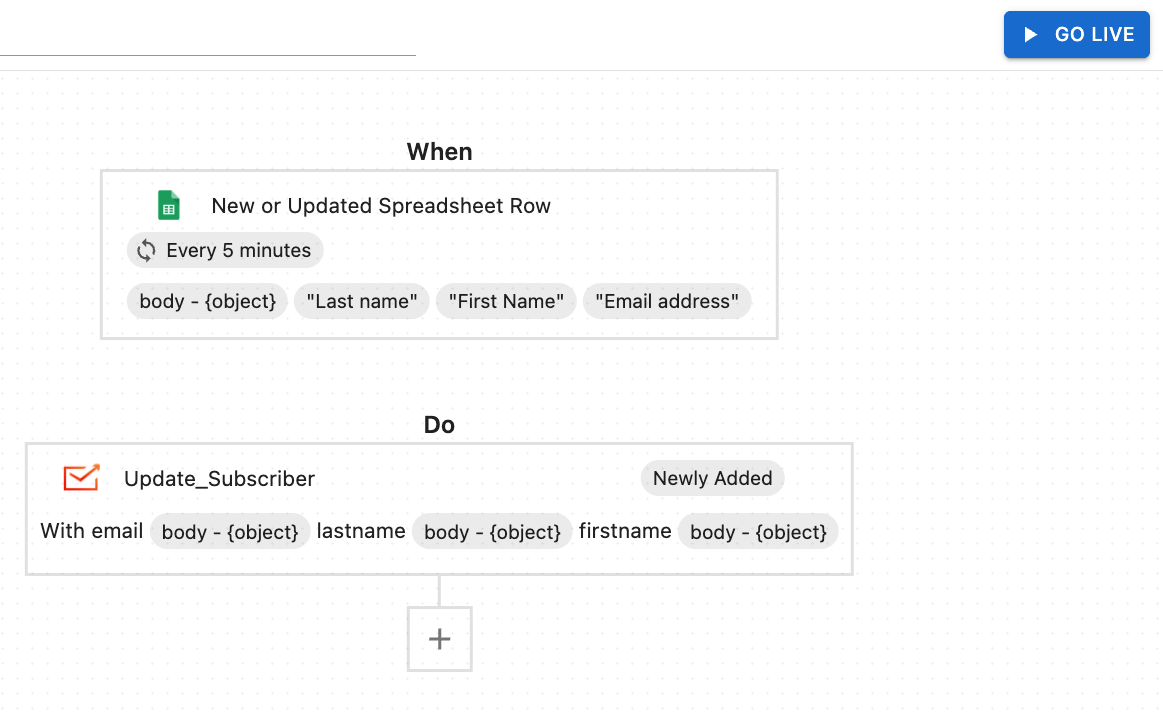
From now on, every new row added to our Google Sheet will automatically create a new subscriber in Sender.
That’s it!
If you got stuck on a specific task or can’t find a way to execute a particular job, contact our support team via LiveChat or support@sender.net – we’re here to help 24/7.