Getting Started with Sender
Getting started is easier than you think – we managed to shorten registration process by a mile!
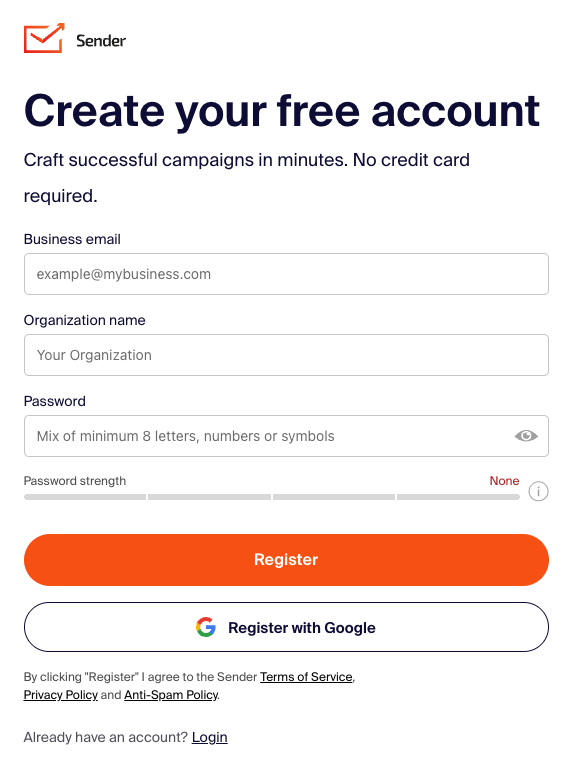
Let’s start by signing up for a free plan. You can start by clicking here – next you will be brought to a registration page. Fill in the business email address, company name and create a password.
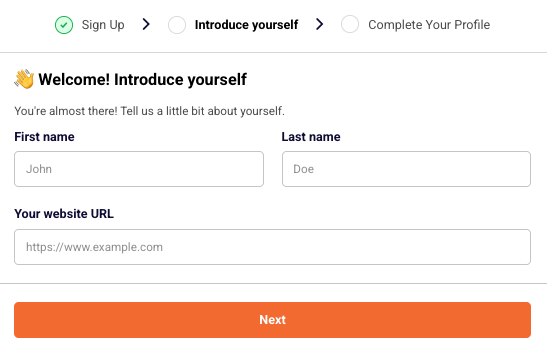
Next, enter your first name, last name and website URL.
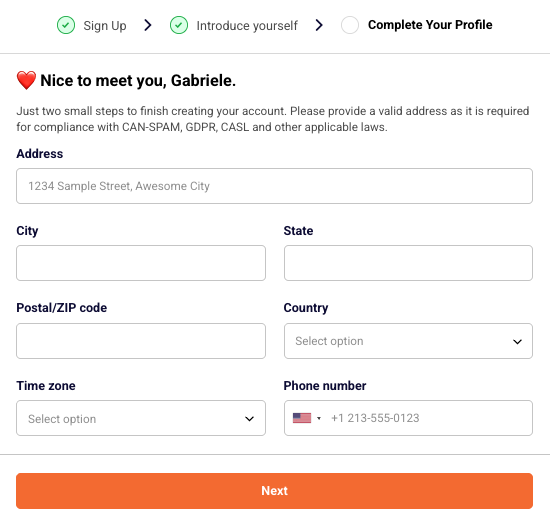
Now enter your business address, choose the timezone and phone number.
Lastly, answer three quick questions to let us know more about your business.
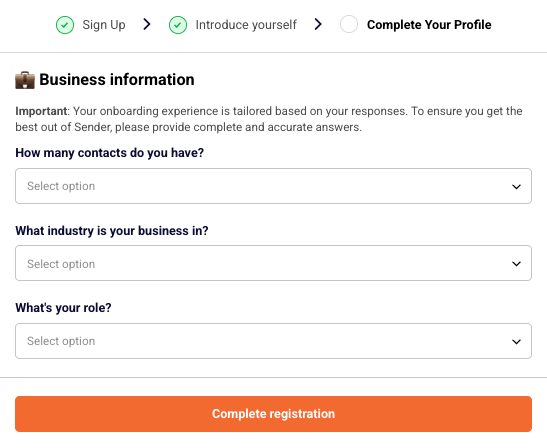
Registration part is over!
Now login to your account and the dashboard tab will open a list of steps you should finish to complete the setup of your account.
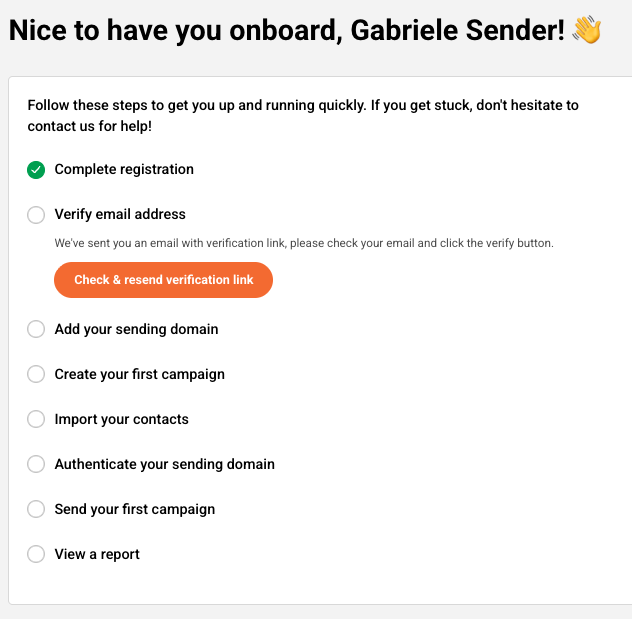
The dashboard will have a walkthrough marker that guides you through the initial setup. You will learn how to verify domain addresses, manage subscribers, read reports etc.
Let’s continue by completing the steps:
Complete registration step will be completed after successful registration.
Verify email address is pretty self-explanatory – you will need to enter your email address below and click on the confirmation email when it arrives in your inbox.

This step requires domain’s verification, click here for the guide.

Sending a first campaign will complete the step. Dedicated campaign management guide be found here
Subscribers import can be done in a few ways – click here for the guide.
To finish this step, a report must be viewed – a dedicated guide on the report section is found here.
That’s pretty much it! When steps are complete, you will understand how the platform works and where different features are located.
If you are stuck on a specific task or can’t find a way to execute a particular job, contact our support team via LiveChat or support@sender.net – we’re here to help 24/7.