Manage Brand Assets
Brand Assets is a powerful feature that allows you to save your brand’s visual identity—including your logo, colors, fonts, and social media links—so they are automatically applied to all your email campaigns and templates.
This ensures consistent branding across all your marketing communications without having to manually configure each campaign.
How to access brand assets
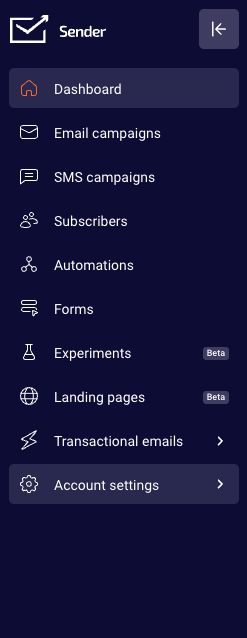
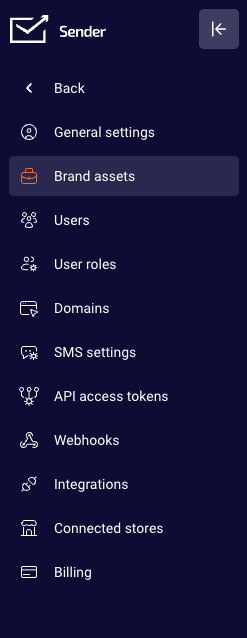
- Log in to your Sender account.
- Go to Settings.
- Select “Brand assets” from the settings menu.
Upload your logo
Your logo will be displayed anywhere you have a logo block in your email campaigns. To upload your logo:
- Click the “Upload image” button in the logo section.
- Select an image file from your computer.
- Your logo will appear in the preview area.
Supported formats: JPG, PNG, or GIF.
Tip: Make sure your logo is visible on a dark background, as some email templates may use darker color schemes.
Select a Color Theme
You can customize your brand colors to match your visual identity. Sender offers preset color themes, or you can manually adjust each color value to perfectly match your brand guidelines.
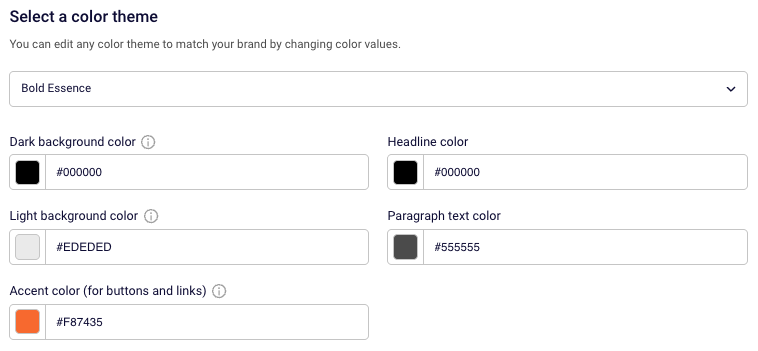
The following color settings are available:
- Dark background color: this color will be applied to the chosen email backgrounds. In your design, make sure to use well-contrasting text and button colors on dark backgrounds.
- **Light background color:**this color will be applied to the chosen email backgrounds. In your design, make sure to use well-contrasting text and button colors on light backgrounds.
- Headline color: The color applied to your email headings and titles.
- Paragraph text color: The color used for body text in your emails.
- Accent color (for buttons and links): choose a color for buttons and links that is well visible on both dark and light backgrouds.
To customize colors:
- Select a preset theme from the dropdown menu (e.g., “Bold Essence”), or
- Enter specific hex color values (e.g., #F87435) in each color field to match your brand exactly.
Choose Fonts
Typography plays a crucial role in brand recognition. Sender allows you to set both primary fonts and fallback options to ensure your emails look great across all email clients.
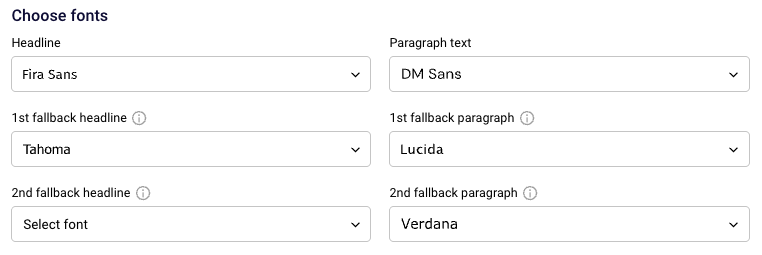
Font settings include:
- Headline font: The primary font for your email headings (e.g., Fira Sans).
- Paragraph text font: The primary font for body text (e.g., DM Sans).
- 1st fallback headline/paragraph: A secondary font that displays if the primary font isn’t available in the recipient’s email client.
- 2nd fallback headline/paragraph: A tertiary font option for maximum compatibility.
To select fonts:
- Click the dropdown menu next to each font setting.
- Select your preferred font from the available options.
- Set fallback fonts to ensure consistent display across different email clients.
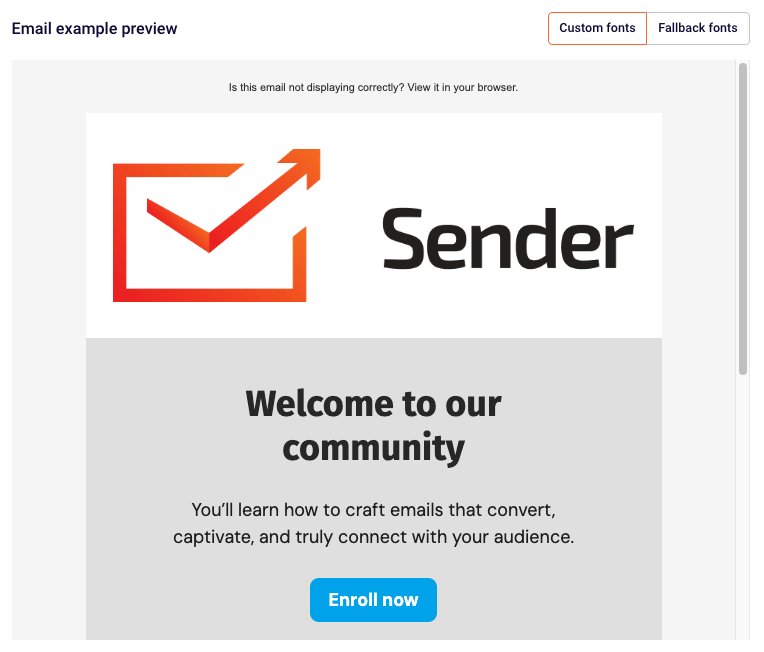
Note: You can preview how your emails will look with custom fonts versus fallback fonts using the toggle buttons in the Email example preview panel on the right side of the screen.
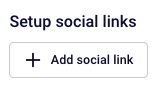
Setup Social Links
Add your social media profiles so they can be easily included in your email campaigns. Social icons will automatically appear in templates that include a social block.
To add a social link:
- Click “+ Add social link” button.
- Select the social media platform.
- Enter your profile URL.

Automatic Brand Setup
Want to save time? Sender can automatically import your brand assets from your website. This feature extracts your brand colors, fonts, logo, and social links directly from your website URL.
To use automatic brand setup:
- Scroll down to the “Automatic brand setup” section.
- Enter your website URL in the input field (e.g., https://sender.net).
- Click the “Import” button.
- Review the imported settings and make any necessary adjustments.
Note: New styles will be applied to all new branded blocks and email templates. Existing campaigns will remain unchanged unless edited.
Preview Your Brand Settings
The right side of the Brand Settings page displays a live email preview showing how your brand settings will look in an actual email campaign. This preview updates in real-time as you make changes.
Use the preview to:
- See how your logo appears in the email header.
- Check how your color scheme looks across different email sections.
- Toggle between “Custom fonts” and “Fallback fonts” to see how your emails will render in different email clients.
- Verify that buttons and links display correctly with your accent color.
Once you’re satisfied with your brand configuration, click the “Save brand” button in the top right corner.
That’s it!
If you got stuck on a specific task or can’t find a way to execute a particular job, contact our support team via LiveChat or support@sender.net – we’re here to help 24/7.