

Create an Embedded Form
In order to create a form, click ‘Forms’ in the main menu bar. Then click “Create a new form”. You will be presented with different form options:
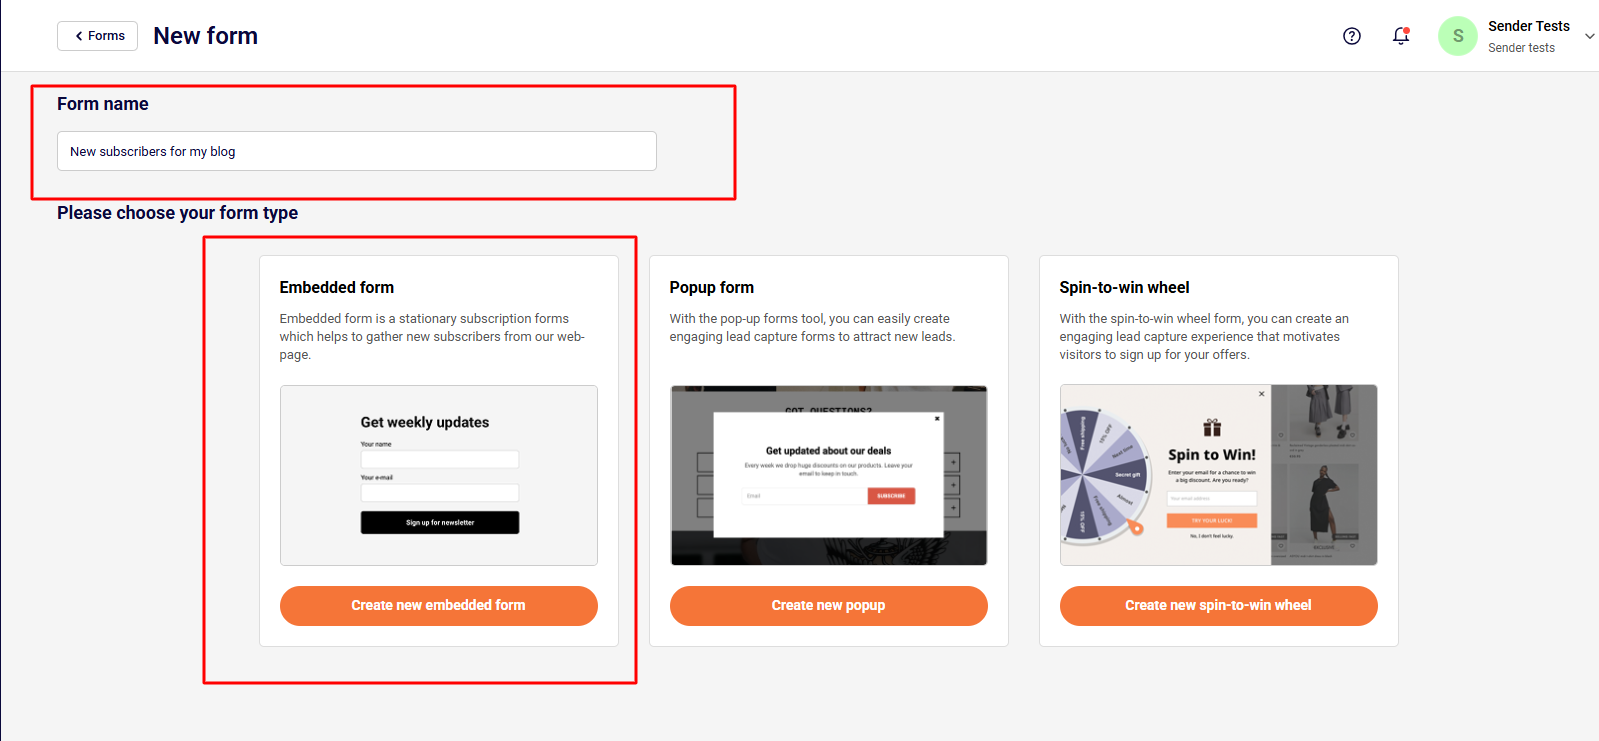
- Embedded form
- Popup form
- Spin-to-win wheel form
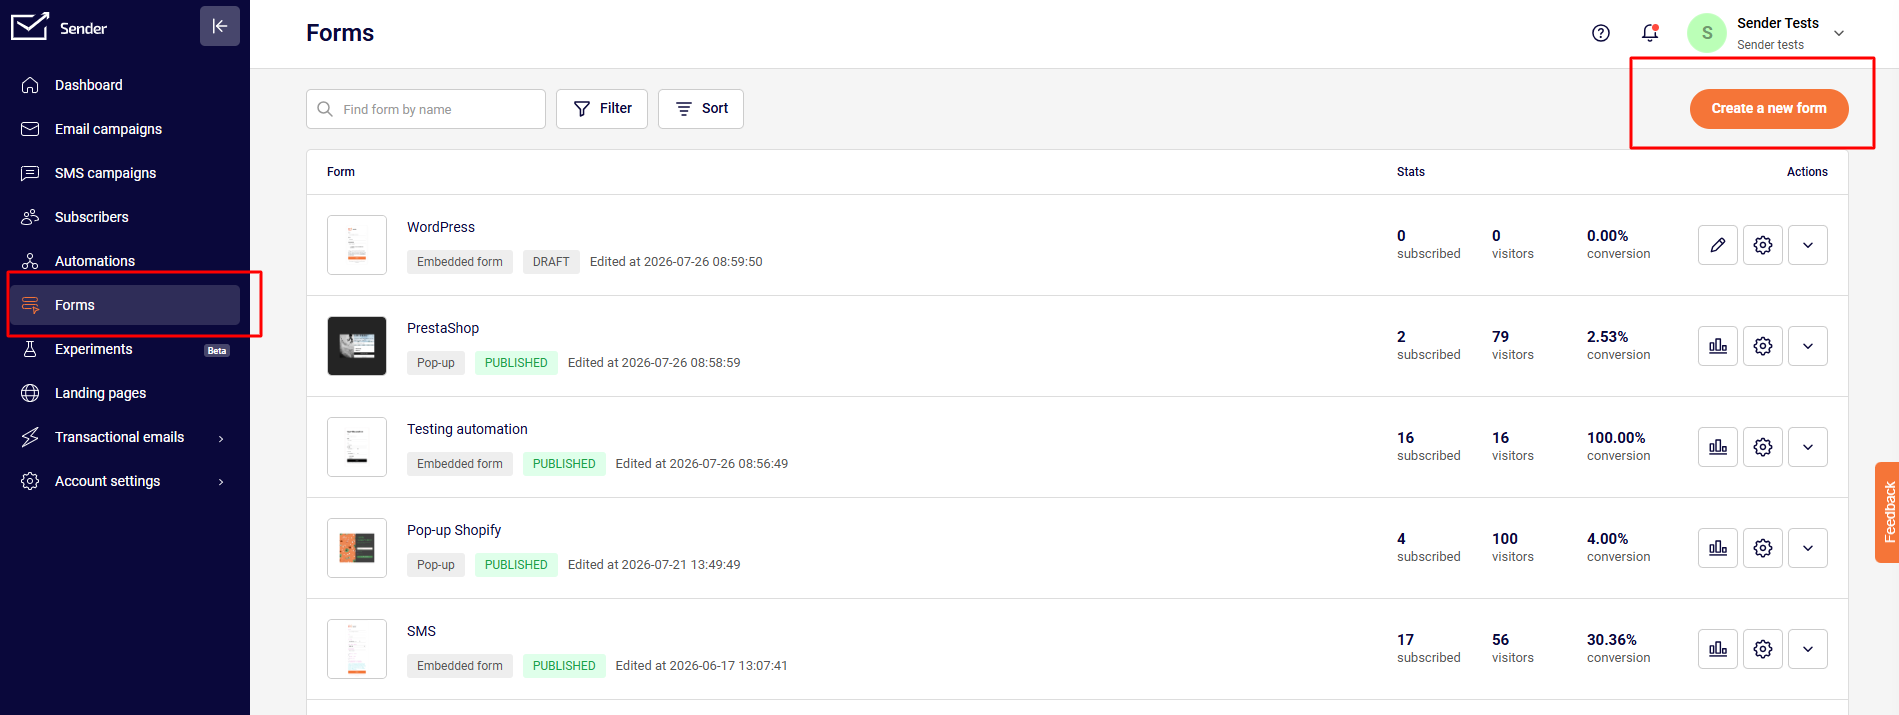
Name your form and click on “Create a new embedded form”.
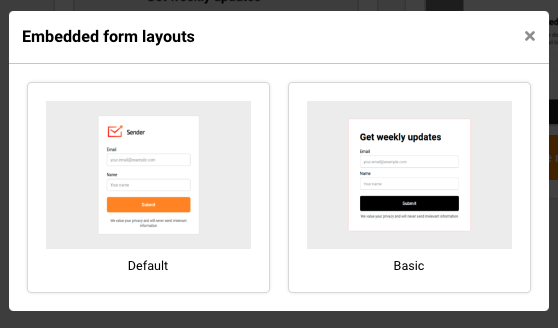
Choose between Default and Basic layout.
Embedded form
Creating an embedded form is a simple process. Firstly, you will need to set up the design. The subscription form is fully customizable – each element can be changed and modified according to your needs. Furthermore, the subscription form can include additional components such as reCAPTCHA for security, a confirmation checkbox for GDPR compliance, and other options.
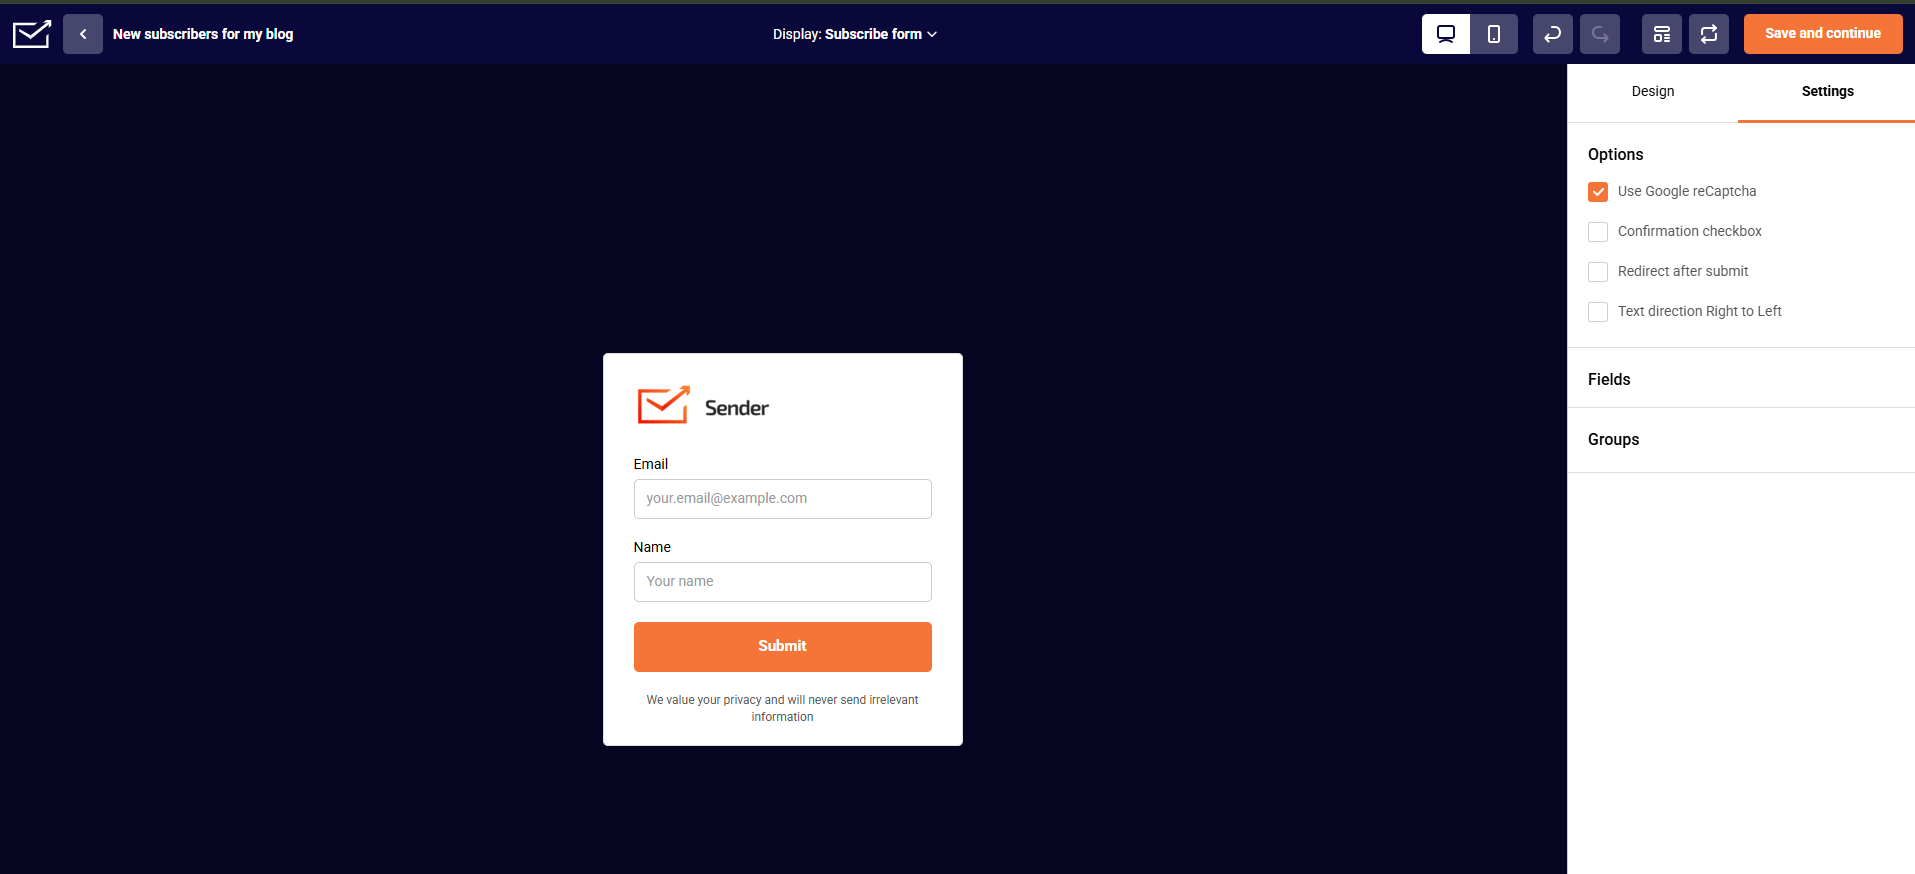
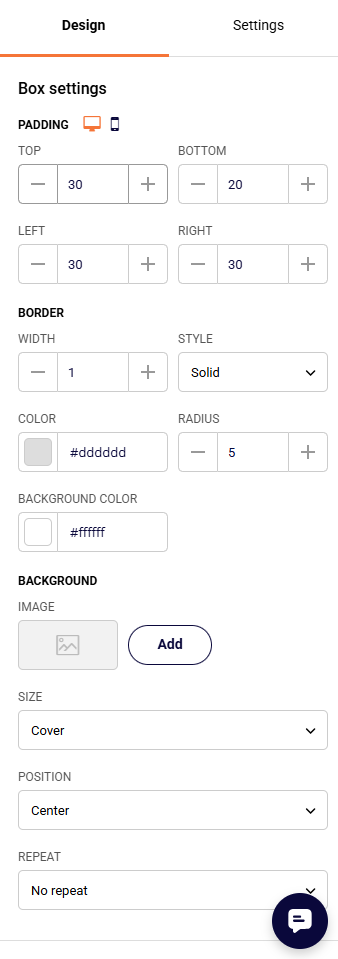
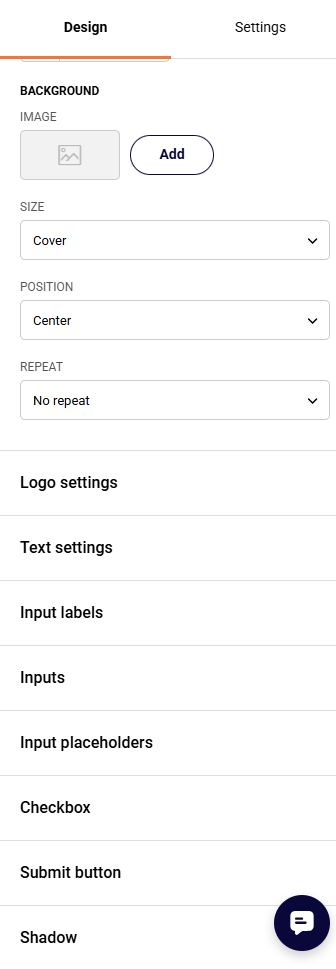
Design settings offer a variety of different options. Each element is completely customizable:
- Box settings
- Logo settings
- Text settings
- Input labels
- Inputs (fields, e.g. name, surname)
- Input placeholders
- Checkbox
- Submit button
- Shadow
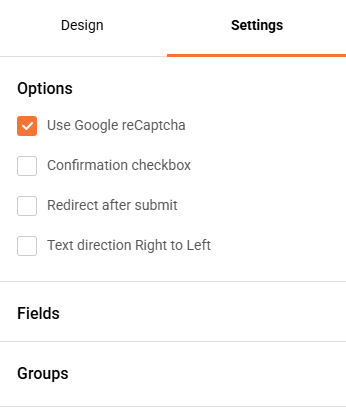
The Settings tab is responsible for additional form features, like:
- ReCaptcha – Spam prevention.
- Confirmation checkbox – usually used for GDPR compliance.
- Redirection – custom redirection after subscription.
- Text direction – change the direction of the text.
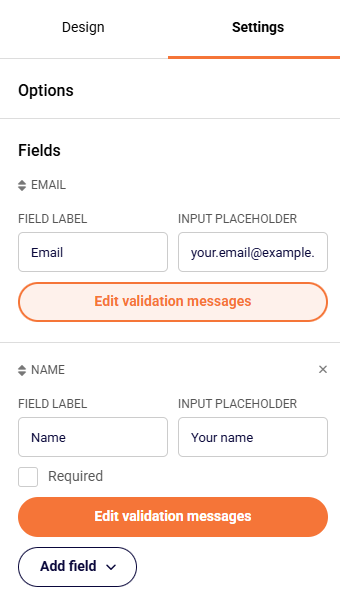
The fields section is used for adding custom fields. These fields are imported from the general fields section (Subscribers -> Fields), although light edits can be done here.
The groups section lets you decide which group(s) your subscribers will be added to once they submit the form.
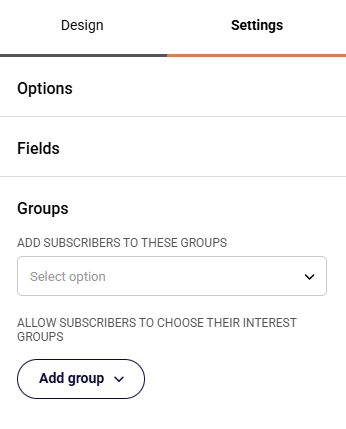
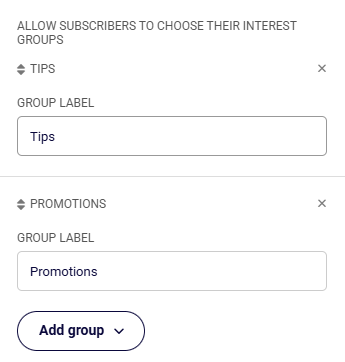
The “Add group” button is for interest groups. It allows subscribers to choose the type of content they are interested in. They can do so by ticking a box in the form.
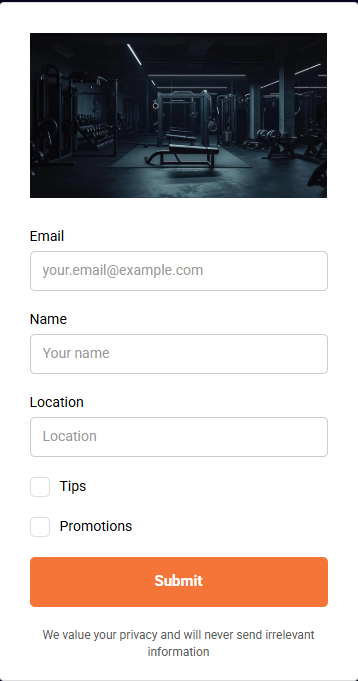
In the image below, you will see what the basic subscription form with a few additional changes looks like.
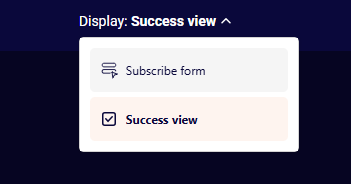
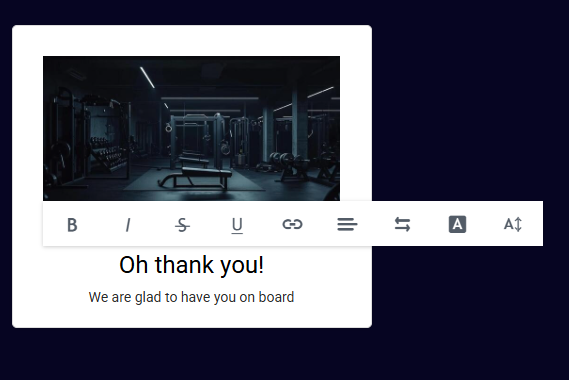
Furthermore, the thank-you page can also be customized. Click on the “Success view” button at the top and start editing text by clicking on it. This banner will be shown to new subscribers after they submit their information.
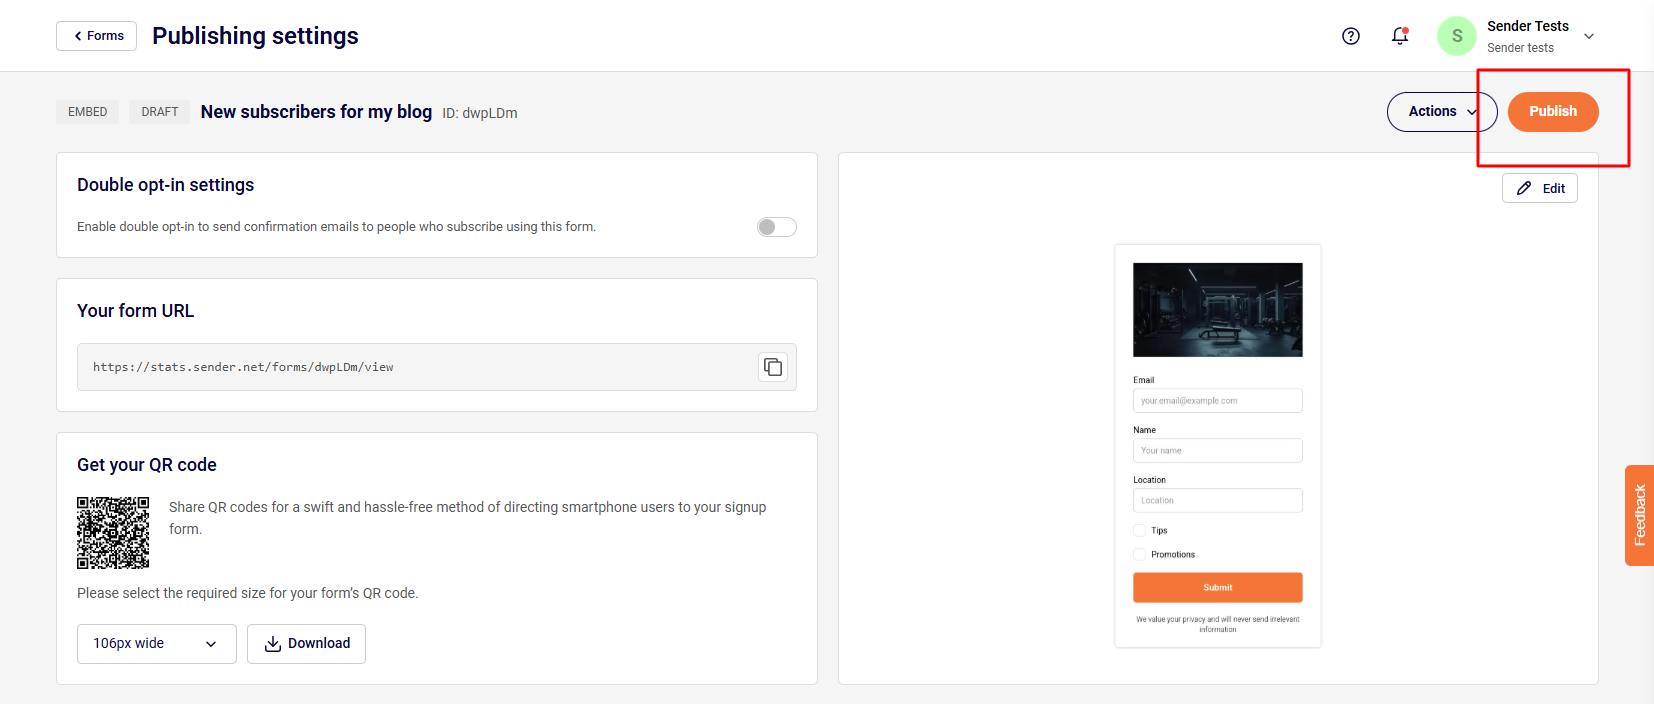
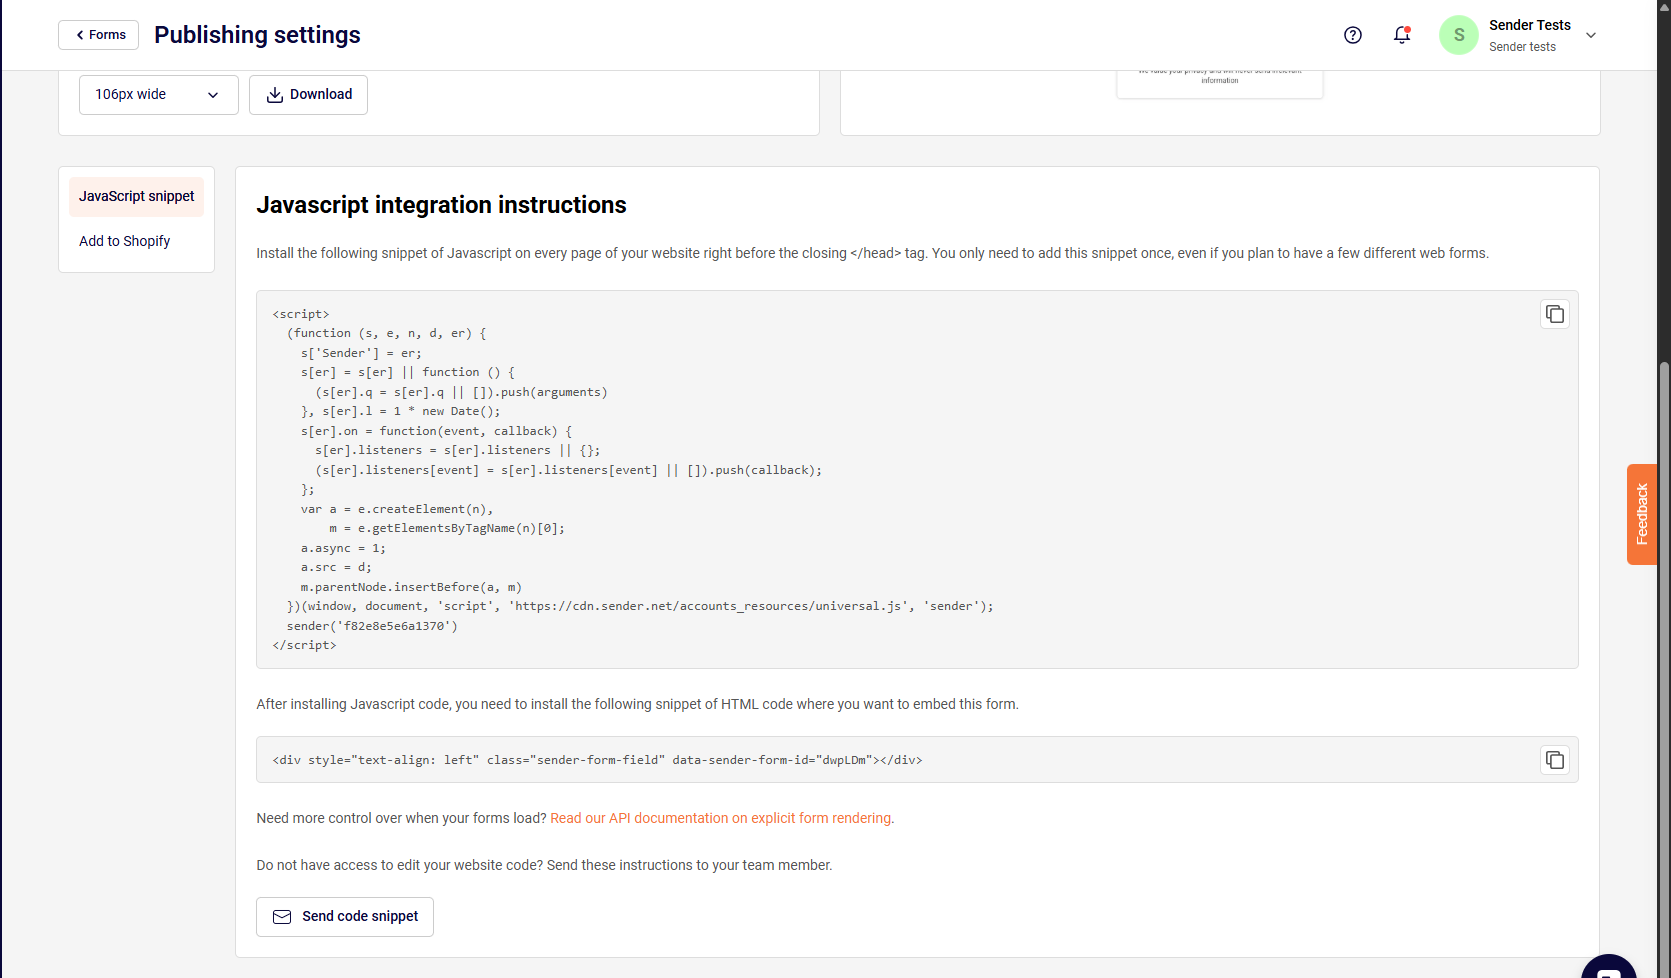
After the subscription form is fully designed, click the “Save and continue” button at the top right side. After that, you will reach the final tab. Make sure to publish the form so it can be viewed. There you will also find the form’s script (the embedded forms have two script parts), which must be embedded into your web page.
The activity window can be accessed by clicking on the “Overview” button in the forms section.

Note – you don’t need to re-implement the subscription form after any modifications are applied. It will be automatically updated after being saved.
WordPress website owners can implement subscription forms and popups using our plugin integration. Click here to learn more.
That’s it!
If you are stuck on a specific task or can’t find a way to execute a particular job, contact our support team via LiveChat or support@sender.net – we’re here to help 24/7.