

Creating professional email campaigns doesn’t have to be a headache anymore. We’re pretty excited to share that Sender now works hand-in-hand with Stripo, which means you get the best parts of both platforms without jumping through hoops.
Here’s what this integration brings to the table:
- Clean code. Your templates export with tidy HTML that won’t cause conflicts;
- Bulk export. Why export one at a time when you can do several templates together?;
- Export & replace. Update your existing campaigns with fresh designs without the usual hassle.
Why This Integration Will Change How You Build Email Campaigns
So, what makes Stripo worth your time? It’s basically an email design platform that doesn’t require you to know a single line of code. You can create professional, mobile-friendly email templates that actually work across different devices and email clients.
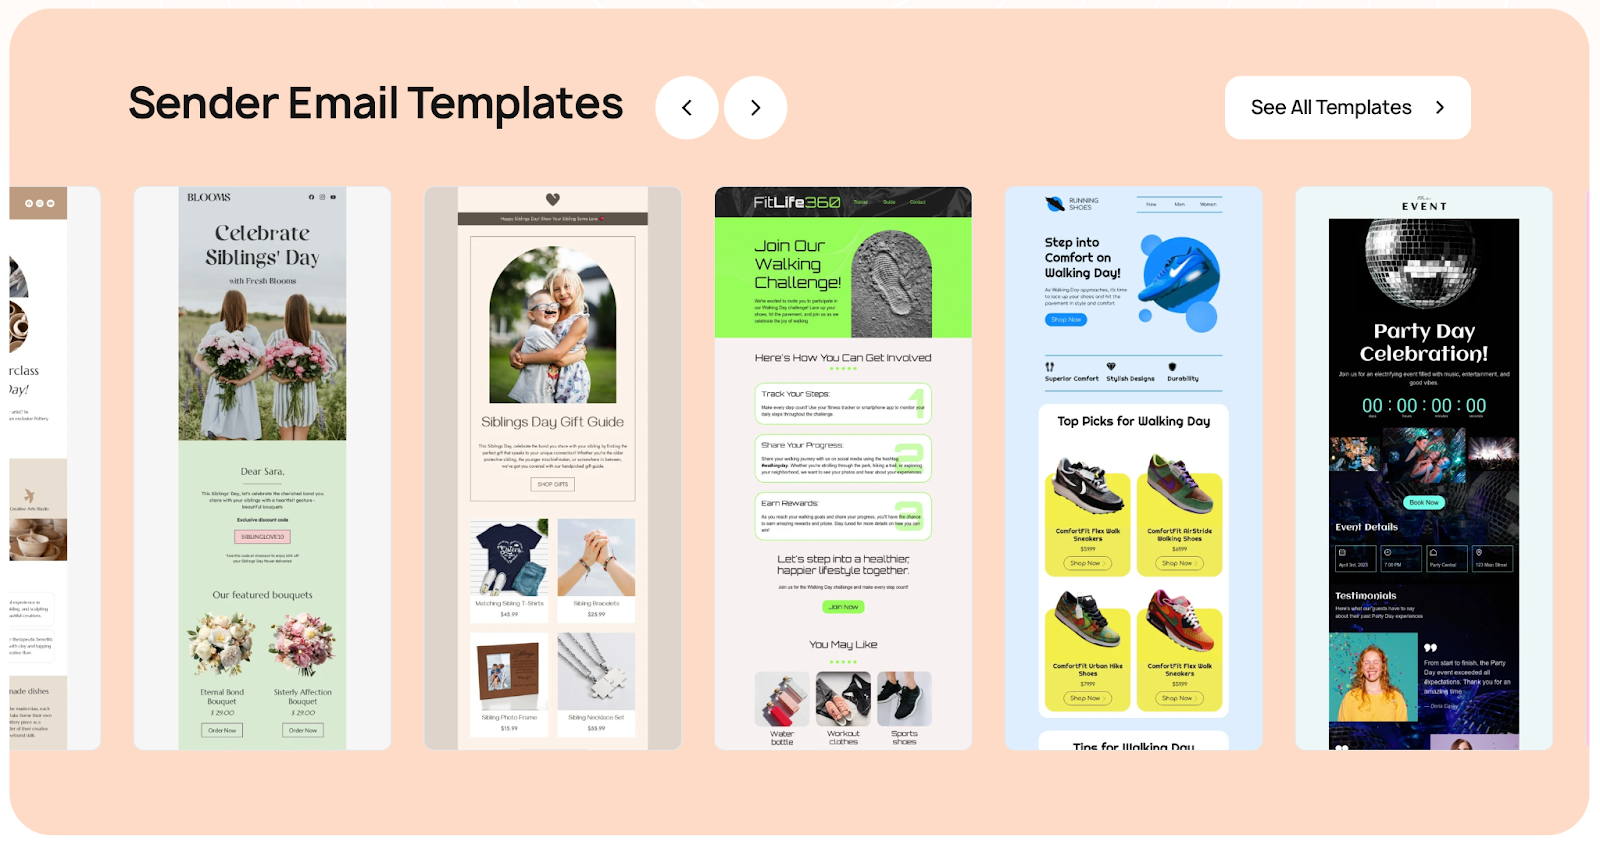
Stripo comes packed with tons of ready-made templates and gives you plenty of room to customize everything. You can make each email truly yours without starting from zero every single time.
But here’s why pairing Stripo with Sender makes sense:
- Super smooth workflow. Design your emails in Stripo, then get them into Sender with just a couple of clicks;
- Access to professional designs. Stripo’s got this huge collection of templates that don’t look like they came from 2005;
- Better design tools. You can add interactive elements and use advanced features that make your emails actually engaging;
- Mobile-friendliness. Your emails will display properly on phones, tablets, whatever people are using these days;
- Saved time with reusable blocks. Create content blocks once, use them everywhere. Your brand stays consistent and you don’t reinvent the wheel;
- Preview before you send. See how your email appears in Gmail, Outlook, Apple Mail – you name it;
- Easier team collaboration. Designers and marketers can work together without the usual back-and-forth confusion.
How to Integrate Sender with Stripo?
Getting this integration up and running isn’t complicated. Here’s how you do it:
Step 1: Jump into your templates
Sign into your Stripo account and click on “Email Messages”. If you’re feeling creative, go with “Empty Email” to start fresh. Otherwise, “Pre-built Templates” has plenty of options to choose from.
Step 2: Pick what works
Browse around or search for something specific. Let’s say you need spring-themed templates – just search for “Spring” and grab whichever one fits your campaign.
Step 3: Make it yours
This is where you customize everything to match your brand. Don’t rush this part because once you export, you’ll be working with HTML in Sender, which can be trickier to edit later.
Step 4: Time to export
Happy with how everything appears? Hit that “Export” button at the top.
Step 6: Find Sender and fill in the details
In the export menu, search for “Sender” and select it. You’ll need to provide a few things:
- What you want to call this account;
- Your API access token (our Help Center has instructions on getting this from your Sender account);
- The email address you’re sending from;
- Where replies should go.
Don’t worry if you need to change the sender email later – you can always adjust that in Sender.
Step 7: Hit export again
Enter everything, click “Export,” and wait for the confirmation.
Step 8: Check your Sender account
Head over to Sender and go to “Email campaigns.” Your Stripo template should be sitting there, ready to go.
Step 9: Send it
Now you do what you normally do – pick your subscriber list, decide if you want to send immediately or schedule it for later.
Need more detailed help? We’ve got a complete walkthrough in our Help Center that covers all the little details and troubleshooting tips.
Want to make your email design process way less painful?