
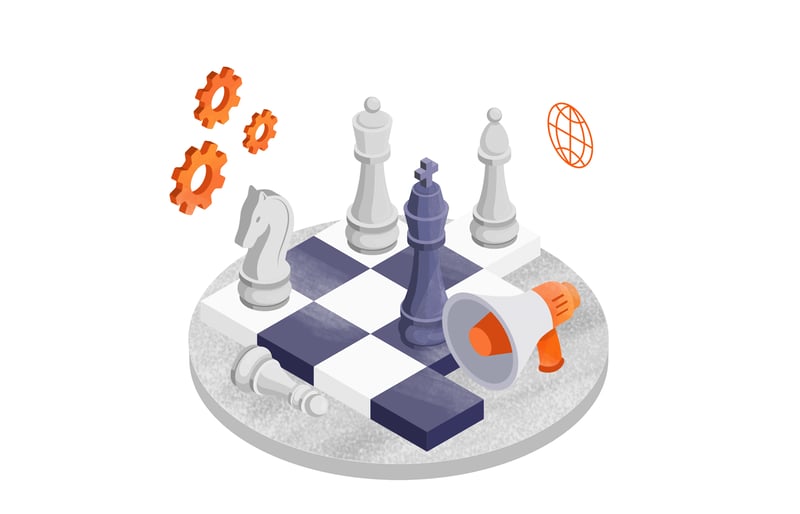
In the world of email marketing, timing is everything. But timing without context is just noise. Sending a generic “Buy Now” email is okay, but sending an email that says, “Hey, you’re only $10 away from free shipping,” exactly when a user stops browsing? That’s magic.
That magic is powered by Custom Events. We are thrilled to announce that Sender now gives you the power to track specific user behaviors and turn them into high-converting automated workflows. Whether you run a bustling Shopify store or a complex SaaS platform, Custom Events allow you to meet your customers exactly where they are.
How Custom Events Work
You don’t need to be a data scientist to understand how this works. Essentially, Custom Events are “signals” sent from your website or app to Sender, telling us that a subscriber did something specific.
There are two primary ways to get this data into your dashboard:
- For ecommerce stores: If you use our direct integrations (Shopify, WooCommerce, PrestaShop, etc.), you’re already ahead of the game. Standard events like “Viewed Product” or “Started Checkout” sync automatically. No code, no developers – just plug and play.
- For custom apps/websites: If you have a unique action you want to track – like “Finished Lesson,” “Clicked Free Trial,” or “Upgrade Button Clicked” – you can create a Custom Event in Sender and have your developer link it via our API.
Every time an event is triggered, it shows up in that user’s activity log. Plus, you get a dedicated stats dashboard for every event to see exactly how your audience is interacting with your brand in real-time.
Find more information on how they work and how to create one.
Real-Life Use Cases to Inspire Your Next Campaign
Data is only useful if you do something with it. Here are four ways you can use Custom Events to drive serious ROI:
Recovery & Retention: Bring People Back Before They’re Gone
Don’t let hard-earned leads go cold. The moment a user stalls – whether they’ve abandoned a product category or hit a payment failure – is your window of opportunity. Custom events act as a digital safety net, catching users before they churn and nudging them back into the fold with a perfectly timed solution.
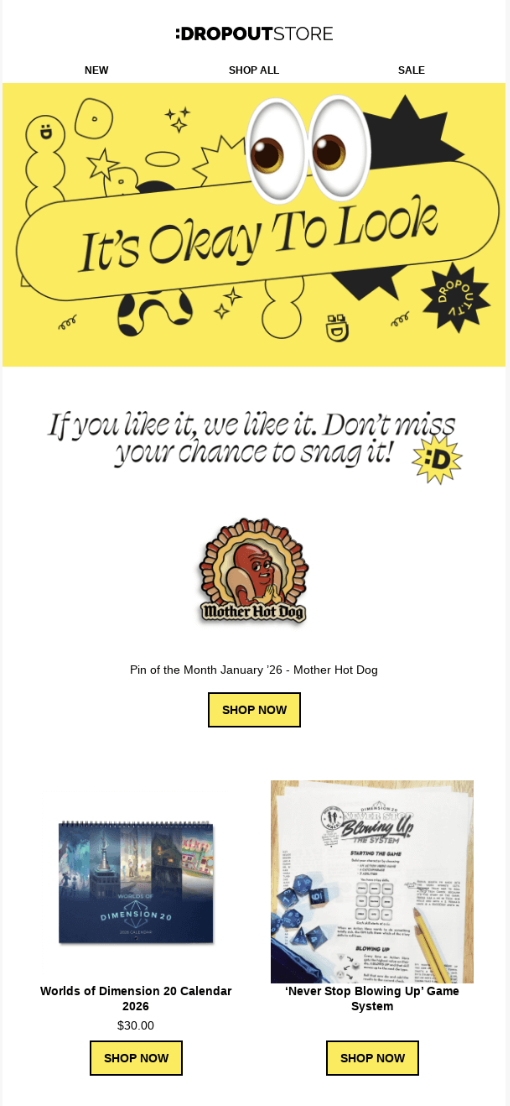
Browsing abandonment (ecom)
- Event: Viewed_Category (same category, 3 times in 48 hours, no purchase)
- Automation: Send a “Top 10 Hiking Boots Comparison” guide on day two.
Most browsers aren’t saying no – they’re saying not yet. A helpful guide nudges them forward without feeling like a hard sell.
Here’s a Dropout Store nudges their visitors after browse abandonment:
Subscription lapse (SaaS/Service)
- Event: Payment_Failed
- Automation: Immediately trigger an “Action Required” email with a direct link to the billing page.
This is one of the highest-stakes events in any subscription business. Every hour without a fix is another hour closer to losing that customer for good.
Incomplete profile (any app)
- Event: Account_Created with no Profile_Completed after 24 hours
- Automation: Send a nudge showing what a complete profile unlocks – better recommendations, personalized content, more value.
People don’t abandon profiles out of laziness – they just need a reason to finish. Give them one.
Upselling & Maximizing LTV: More Value from Every Customer
Getting a customer through the door is only half the battle; the real growth happens when you maximize the value of every interaction. By tracking specific behaviors like cart totals or high-frequency feature usage, you can pinpoint exactly when a user is ready for more.
Use these events to offer logical upgrades or “threshold” incentives that feel like a reward rather than a sales pitch.
The threshold nudge (ecom)
- Event: Added_to_Cart (where cart_value < $50)
- Automation: Send “You’re only $10 away from free shipping – here are some add-ons you might love.”
A small, well-timed suggestion is all it takes to lift average order value. The cart is already open – you’re just helping them fill it.
The power user upgrade (SaaS)
- Event: Feature_Used (count > 50)
- Automation: Send “You’re a pro at [Feature] – did you know our Premium plan removes the usage limit entirely?”
By the time someone hits 50 uses, they’ve already proven they love what you built. That’s the moment to show them what more looks like.
The replenishment loop (consumables/subscriptions)
- Event: Purchase_Completed (where product_type = “30-day supply”)
- Automation: Set a 25-day delay, then send “Running low on [Product]? Reorder now so you don’t miss a day.”
It’s not pushy – it’s practical. You’re reaching them exactly when the need is real.
Nuggs send a “running low” email 30 days after last purchase:

Education & Onboarding: Shorten the Learning Curve
A confused customer is a gone customer. The first few days of a user’s journey are the most critical for long-term success. Custom events allow you to monitor their progress in real-time, helping you guide them toward that “Aha!” moment. Whether they’ve hit a milestone or gotten “stuck in the mud,” you can trigger the exact tutorial or encouragement they need to keep moving forward.
The milestone celebration
- Event: Course_Lesson_Completed (where lesson_number = 5)
- Automation: Send a celebration email with a bonus cheat sheet for the next chapter.
Halfway is where most people quit. A well-timed high-five – plus something useful – keeps the momentum going.
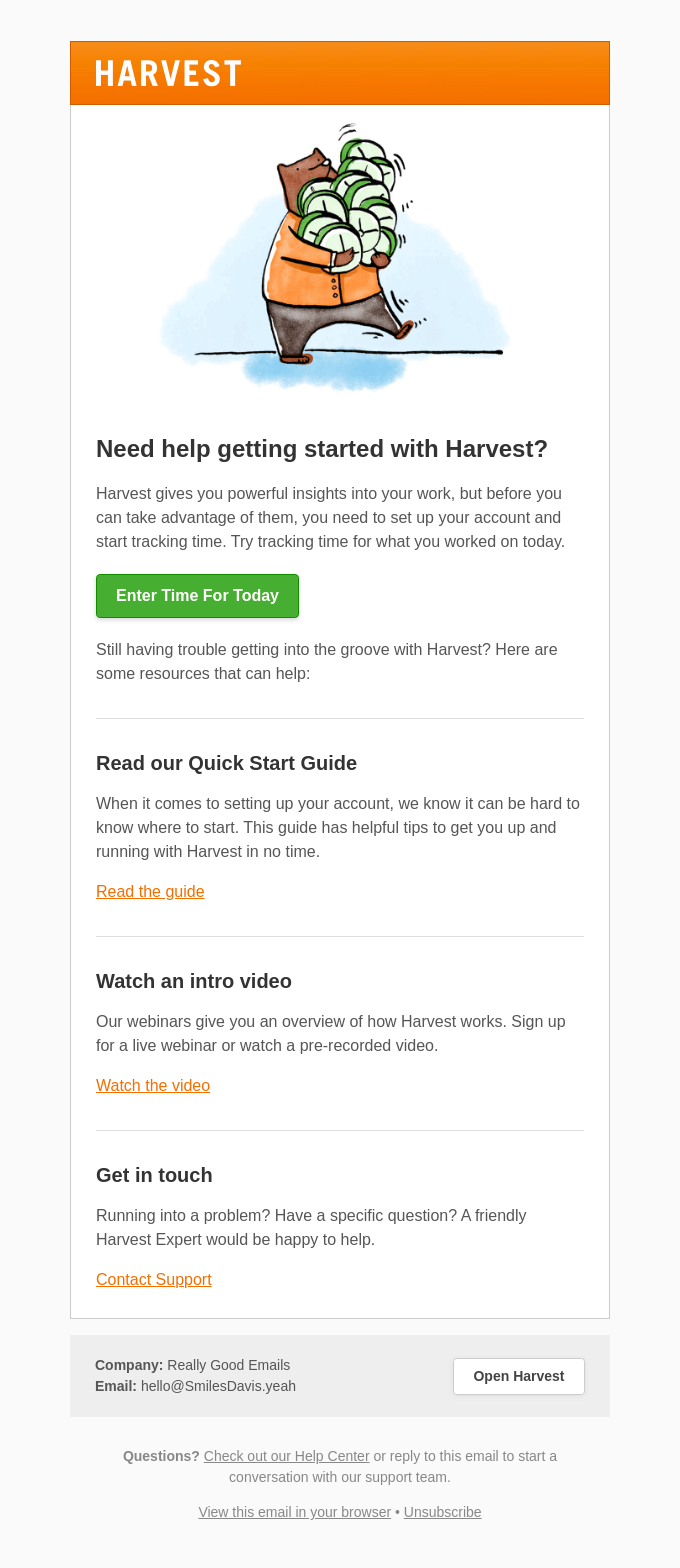
The “stuck in the mud” email
- Event: Login (3 times, no Project_Created)
- Automation: Send a “Need help getting started?” email with a short video walkthrough.
Repeated logins without action are a quiet cry for help. You’re not nagging them – you’re handing them the map they clearly need.
Harvest offers help getting started to people who created an account, but are not using it:
The webinar engagement split
- Event: Webinar_Attended vs. Webinar_Missed
- Automation: Attendees get the advanced FAQ + limited-time offer. No-shows get the recording + the same offer.
Same webinar, two completely different follow-ups. Both audiences raised their hand – they just need to be met where they are.
Loyalty & Advocacy: Turn Customers Into Fans
The best marketing isn’t an ad – it’s a happy customer. Custom events help you spot your “superusers” and automate social proof by triggering review requests at the peak of satisfaction. By turning buyers into advocates through VIP rewards and referral loops, you build a self-sustaining growth engine.
The review solicitor
- Event: Order_Delivered
- Automation: Wait 3 days (longer for complex products), then send a review request with a discount code.
Happy customers want to help – they just need the right moment and a reason to act. A small incentive makes saying yes easy.
The VIP recognition
- Event: Total_Spent_To_Date (reaches > $500)
- Automation: Send a “Welcome to the Inner Circle” email with early access to new drops and exclusive perks.
A spending milestone is a relationship milestone. Treating it like one is how you turn good customers into loyal ones.
Here’s how Lululemon offers exclusive perks to their VIP customers:

The referral trigger
- Event: NPS_Score_Submitted (where score ≥ 9)
- Automation: Immediately send “We’re so glad you’re loving us! Share your link and you both get $20.”
A 9 or 10 is a green light – that subscriber loves you right now, in this moment. The window for that kind of enthusiasm is short, so don’t wait.
How to Set It Up in Sender (Step-by-Step)
Ready to get started? Here is how to move from “Idea” to “Live Automation” in five steps.
Step 1: Create your event
First, tell Sender what action you want to track.
- Navigate to the Custom Events tab in your sidebar.
- Click “New custom event.”
- Give it a clear, specific name and description – site_visited or abandoned_cart, not just “event1.” This creates the empty container that will start collecting user data once it’s connected.
Step 2: Connect the data (ecom or API)
Now it’s time to feed it information.
- For Ecommerce: If your store is integrated, standard events will populate automatically – nothing else needed.
- For Custom Actions: Hand the event name to your developer. They’ll use the Sender API to send the event along with any properties attached to it – things like campaign_id, url, or price.
Step 3: Monitor real-time activity
Before you build a single automation, spend a few minutes watching the data come in.
- Event Dashboard: Click “View” on any event to see a growth chart and a live activity feed of every subscriber who triggered it.
- Individual Profiles: Drill into any subscriber’s profile to see their personal activity log – exact timestamps and the full JSON data tied to each action.
Step 4: Build your automated workflow
Time to turn that data into revenue.
- Go to Automation and create a new workflow.
- In the Trigger Setup, select “Custom event” from the dropdown.
- Choose your specific event (e.g., milestone_reached).
Step 5: Fine-tune with event property filters
This is where things get precise. You don’t have to send the same email to everyone who triggers an event.
- Toggle the “Event properties filter” on.
- Add conditions based on the data sent with the event.
- Example: Only trigger the automation if campaign_id includes a specific value, or if price is greater than a certain amount.
Use Events as Segments
Custom Events aren’t just for triggers; they are for organization. You can create segments based on who has (or hasn’t) performed a specific event. This allows you to send highly targeted one-off campaigns to your most active – or most at-risk – users.
Why this matters:
- Full visibility: You can literally see the journey each subscriber takes in their activity log.
- Granular control: You aren’t just sending “an email.” You are sending a response to a specific detail (parameter) of a user’s behavior.
- Scalability: Whether you’re sending your first 1,000 emails or managing a complex SaaS database, Custom Events scale with your data needs.
The result is email marketing that doesn’t feel like marketing. It feels like you’re paying attention. And in 2026, that’s the difference.